The following is a direct copy and has been Pasted in for future reference from the Art of Photography coursework PDF Doc. (pasted in Maroon)
1 – 3 photographs
Find a scene which has depth — a wood full of trees, for example, a row of cars seen from an acute angle, or a crowded market. From the same place take two or three pictures, each focused on something at a different distance. (For this to work, the lens aperture must be wide – at its lowest f-stop number.) When the photographs are processed, compare them. Notice first how the sharp focus draws the attention, and also how a sharp subject stands out very clearly against the out-of-focus surroundings. Which version do you prefer? Enter in your learning log, as clearly as possible, why you prefer one photograph over another.
– – – – – – – – – – – – – – – – – – – – – – – – – – – – – – – – – – – – – – – – – – – – – – – – – – – – – – – – –
Equipment
Nikon D4
85 f1.4 lens
Tripod
Method
In order to really compare each image I used a tripod, this way each composition can be identically compared. I also wanted to have something in the scene to allow the eye to follow the ‘in focus depth of field’ or otherwise known as the focal plane hence the idea of utilising patio slabs. The gaps between the slabs not only offer a sightline to follow but they also act like a grid giving measure to the changing depth of field.
Please see pictures and captions below.
Note – all pictures have been compressed hence there will be a quality reduction when enlarging.

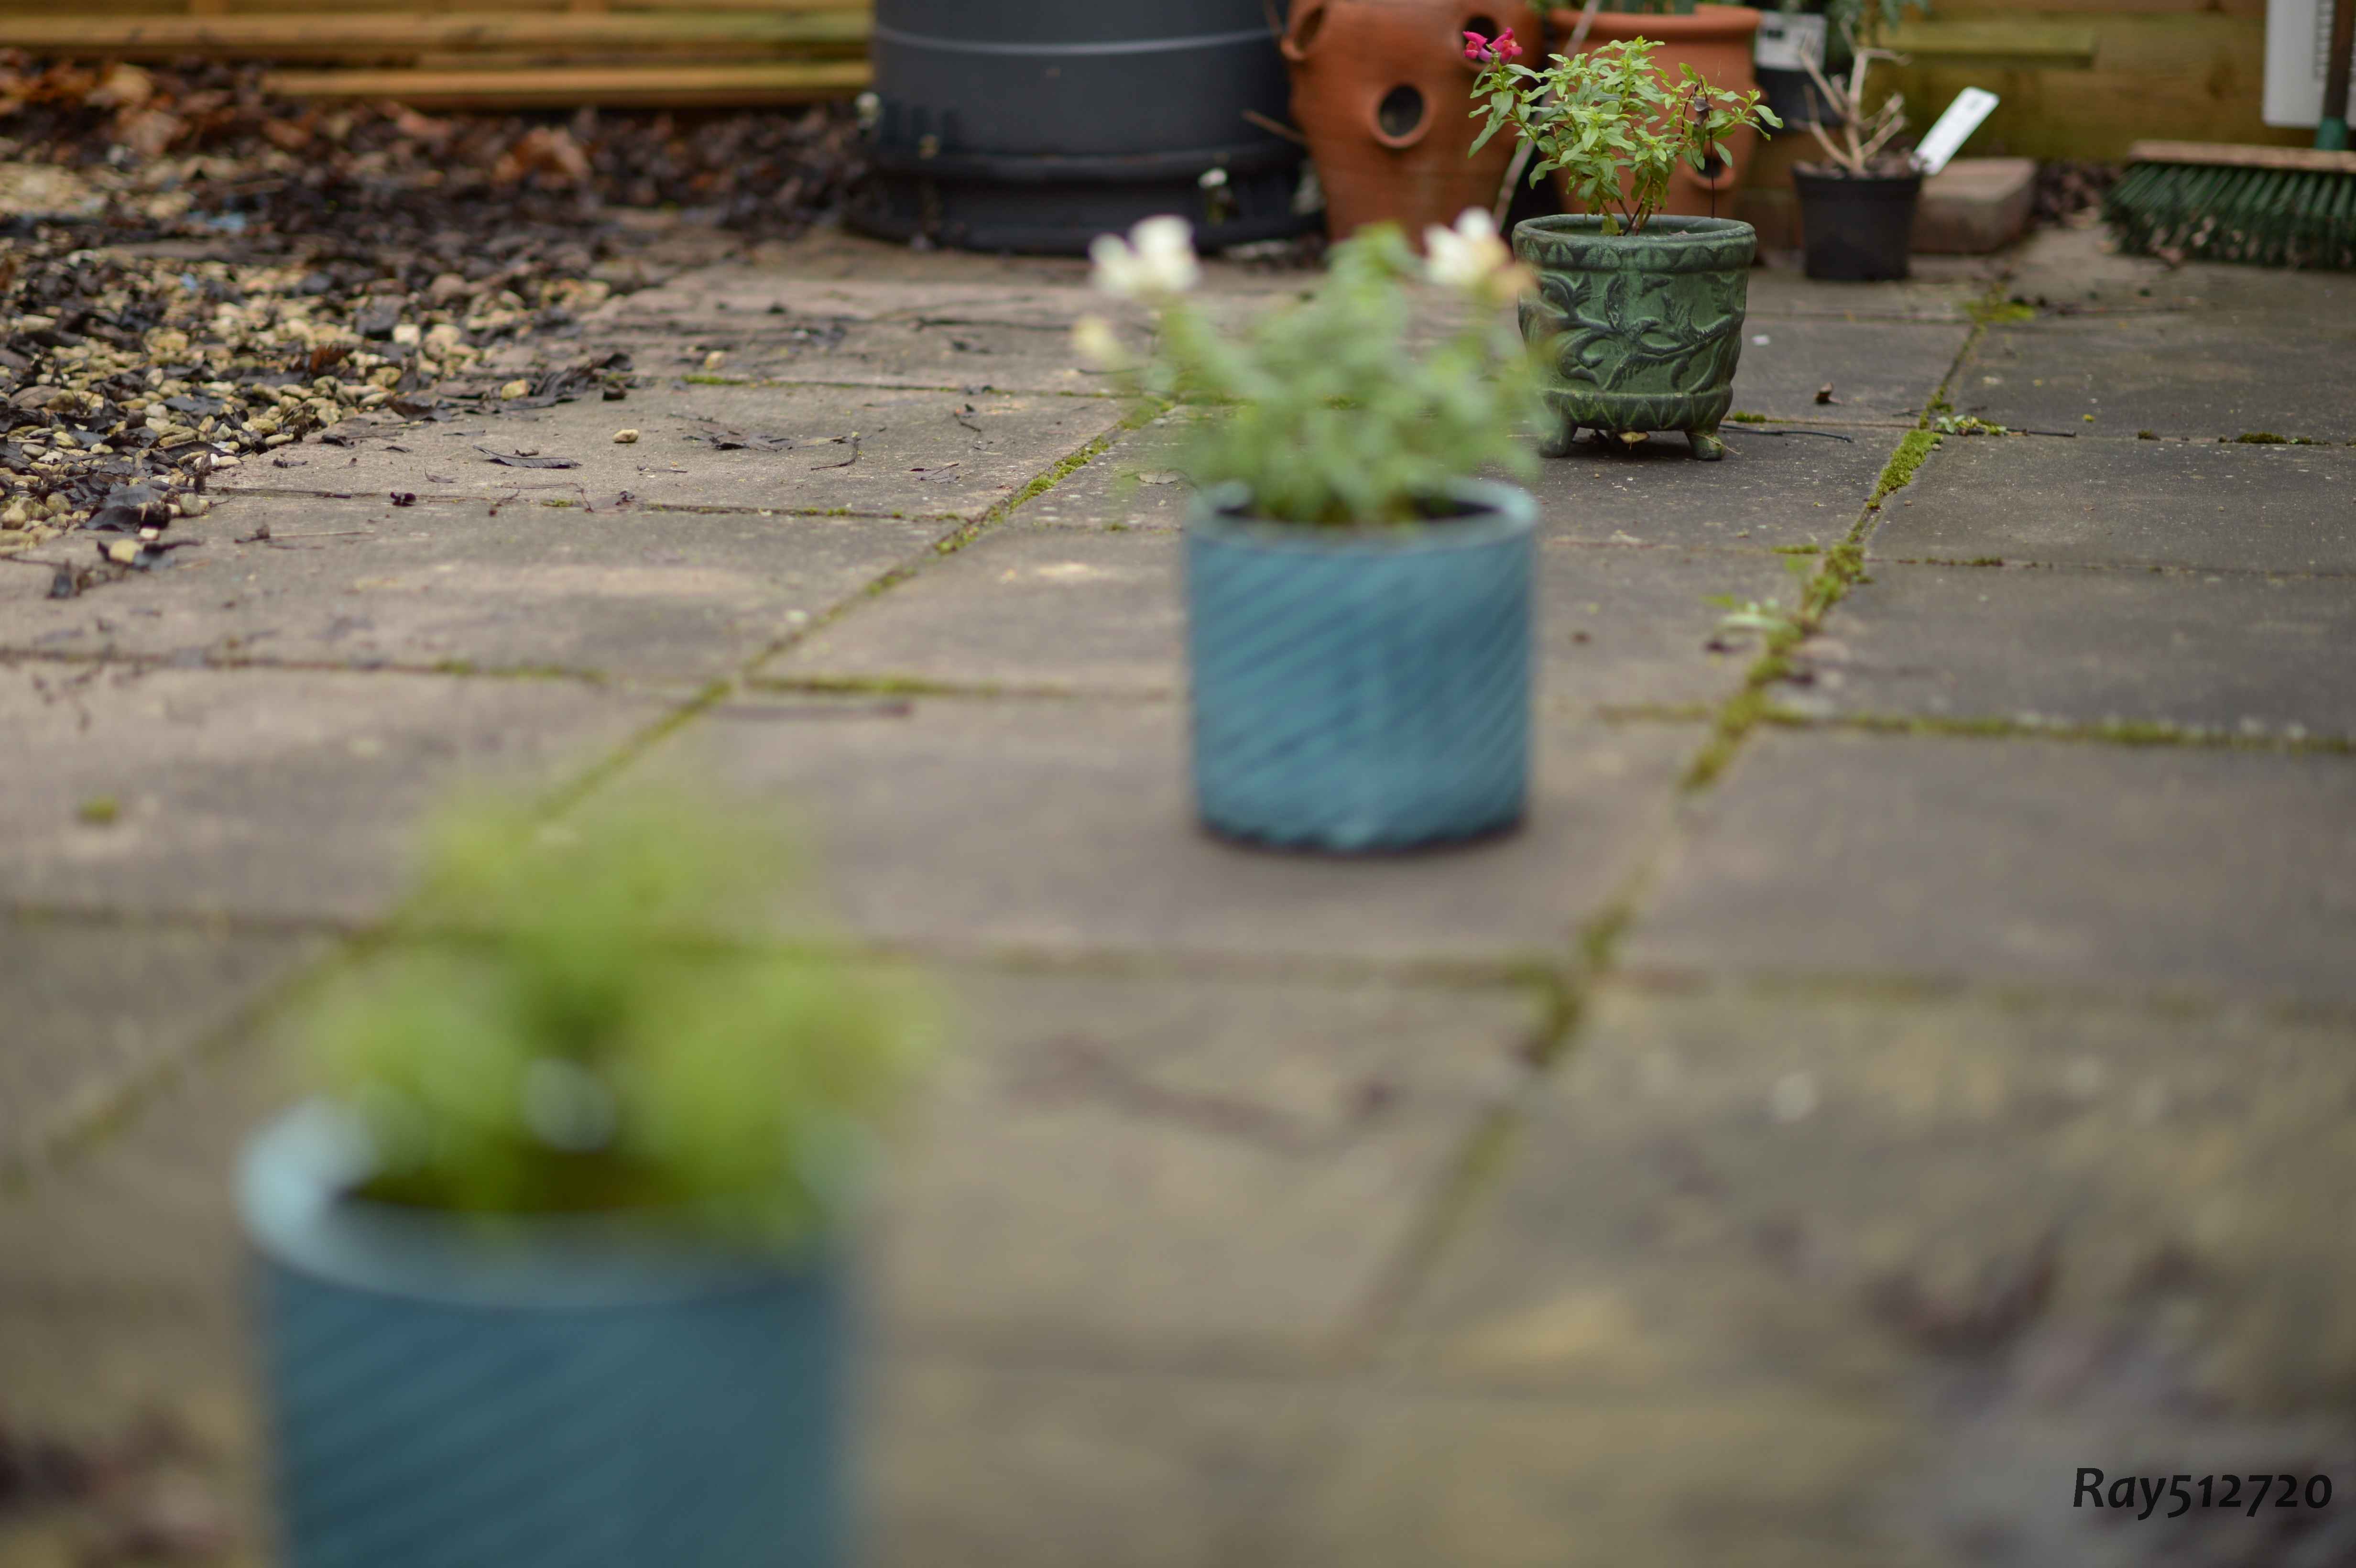
Picture taken with 85mm fixed lens and an aperture setting of f1.4. I really like the grid pattern coming from the gaps between the slabs. It brings an increased awareness of the focal plane not to mention more interest to the picture.

This picture was taken with an 85mm lens and an aperture setting of f1.4. In this picture you can really see the focal plane both in front and behind the subject. The patio focal effect is also enhanced due to the plant pots height being minimal, the picture being centrally positioned has allowed the lens to capture the scene in its central “sweet spot.”
Final picture again taken with the 85mm prime lens and an aperture setting of f1.4. Once again the focal plane is more enhanced, aided by the patio slabs.
What have I learnt from this exercise?
From this exercise I have learnt that utilisation of a ground pattern can greatly improve the focal plane effect.
